


TLDR
- DECRA is a stone-coated steel roofing system available in shingle, shake, and tile profiles.
- Two installation systems exist: a traditional batten system (Tile, Shake, Shingle Plus) and a direct-to-deck clip-lock system (XD line and Villa Tile).
- All DECRA products require underlayment, work on slopes of 3:12 and greater, and must not be installed with copper or lead flashing.
- Ice and water shield is required in Colorado’s freeze-thaw climate.
- The XD system uses a unique interlocking clip mechanism that keeps all fasteners concealed.
- Touch-up kits are available for damaged panels, and panels can be replaced individually if needed.
- A contractor who actually knows this system will understand the batten spacing tolerances, the dissimilar metals rule, and the high-wind fastening requirements.
If you’re comparing premium roofing options and stone-coated steel is on your list, DECRA is one of the more established names in the space. They make several profiles, each with its own installation method and design intent. This guide is meant to give you a working understanding of what DECRA is, how it goes on, and what matters when you’re evaluating contractors and quotes.
It’s not a substitute for an on-site assessment, but it should help you have a better conversation with whoever you hire. If you’re still deciding between material types before narrowing to a specific product, What Roof Type Is Best for My Home walks through the tradeoffs.
What is DECRA roofing, and how is it different from other premium options?
DECRA is a stone-coated steel roofing product. The panels are made from an aluminum-zinc alloy coated steel base with a layer of ceramic-coated stone granules pressed onto the surface. That combination gives you the structural strength of steel and the visual texture of natural materials like wood shake or clay tile.
Stone-coated steel is different from synthetic composite products like molded rubber or polymer shake and tile. Synthetic composites are heavier, often in the 700–900 lb per square range for some products. DECRA panels typically come in around 150 lbs per square. Much lighter than concrete or clay tile, and close to standard architectural asphalt. That matters for structural loading, especially on older homes or mountain builds where you’re adding to an existing roof system.
The stone granule surface also makes DECRA visually similar to natural materials in a way that some all-metal roofs aren’t. From the street, a DECRA tile or shake roof reads as tile or shake. That matters in HOA communities and in mountain towns where the visual standard is set by the surrounding landscape.
What profiles and styles does DECRA come in?
DECRA makes six profiles. They break down into two product lines with different installation systems:
The batten-system line includes:
- Tile – a flat concrete tile look with a 14½" exposure
- Shake – a cedar shake look with a 12₅/₈" exposure
- Shingle Plus – a dimensional shingle look with a 14½" exposure; this one can also be installed direct-to-deck without battens
The XD direct-to-deck line includes:
- Shake XD – shake profile, clip-lock system, works on slopes 3:12 and greater
- Shingle XD – shingle profile, clip-lock system, requires 4:12 or steeper
- Villa Tile – a Spanish barrel tile profile, direct-to-deck, 14½" x 39½" exposure
All six profiles use the same aluminum-zinc alloy steel core and ceramic stone granule finish. What’s different is the shape of the panel, the exposure dimensions, and how the panels connect to each other and to the roof deck.
What’s the difference between the batten system and the XD direct-to-deck system?
This is one of the more important things to understand about DECRA, because the two systems install very differently and the right choice depends on your roof.
The batten system installs horizontal wood strips, called battens, across the roof deck before the panels go on. The panels hook into those battens from the bottom up, starting at the ridge and working down to the fascia. Batten spacing is precise: 14½" on center for the Tile and Shingle Plus profiles, and 12₅/₈" for the Shake. That spacing is not adjustable. It’s determined by the panel geometry and it has to be right for the panels to lay flat and the water channels to work.
The battens do a couple of things beyond just holding the panels. They create an air gap between the panel and the roof deck, which helps with ventilation and moisture management. They also give you a clean installation path when you’re going over an irregular surface like old wood shake, where counter-battens can be used to level things out before the primary battens go on.
The XD system takes a different approach. Panels install directly to the deck and interlock through a factory-built clip-lock mechanism at the top and bottom of each panel. Instead of screwing through the face of the panel, fasteners go through pre-punched holes into the deck. That means no exposed fasteners on the field of the roof, and the panels themselves are fully interlocked once they’re down. The Villa Tile profile works similarly: direct-to-deck with pre-punched fastening tabs.
For most Colorado homeowners, the practical difference comes down to this: the batten system works well over a broader range of existing roof surfaces and allows for more ventilation airflow underneath the panels. The XD system is cleaner-looking, faster to install on a flat deck, and produces a very tight, interlocked panel assembly. A good contractor will help you understand which system makes sense for your specific roof configuration. When a batten system is installed on a mountain home, in mountain communities like Summit County, Eagle County, the Vail Valley, Pitkin County, and Grand County, the difference in how the roof handles freeze-thaw cycles compared to direct-to-deck tends to show up the following winter. If you want to understand how the air gap interacts with your attic ventilation system, the Attic Ventilation series covers that in detail.
What’s the minimum slope DECRA can be installed on?
For most DECRA profiles, the minimum is 3:12. That means 3 inches of rise for every 12 inches of horizontal run. Most residential roofs in Colorado are steeper than that, but it matters for low-slope sections like porch roofs, bump-outs, or garage additions.
The Shingle XD profile has a slightly higher minimum of 4:12, because of how the clip-lock works at shallower angles. The Villa Tile has the same 3:12 minimum as the batten-system products.
Below the minimum, DECRA classifies the application as “decorative” rather than functional, and requires the panels to go over a full, code-compliant roof system underneath. In Colorado, that practically means anything below 2:12 is off the table for these systems.
What does a proper DECRA installation actually involve?
Here’s what should happen before and during installation:
Deck preparation.
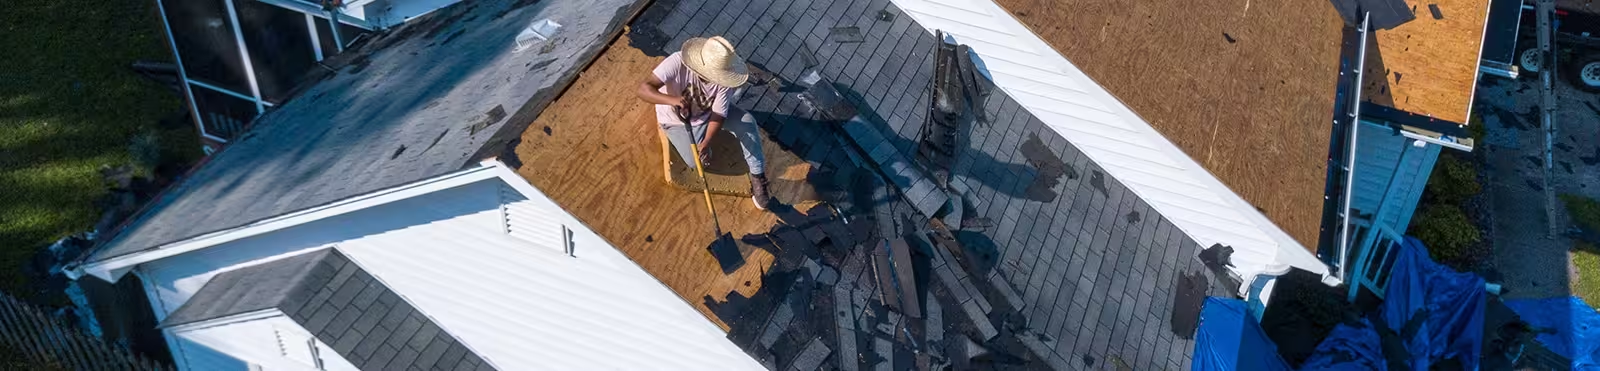
The roof deck must be clean, level, and square. If you’re going over existing asphalt shingles, the shingles need to be cut back at the eaves and rake edges, typically about 8", to accommodate the starter hardware and edge flashings. Existing hip and ridge material comes off regardless.
Underlayment.
One layer of underlayment is required on all DECRA installs, both new construction and reroofs. It goes under the battens on batten-system installations. In Colorado’s freeze-thaw climate, ice and water shield at the eaves is standard practice and often required by local code, your contractor should be accounting for this automatically, not treating it as an add-on.
Battens (batten-system profiles).
On the Tile, Shake, and Shingle Plus systems, battens go down first. The starter batten sets at the fascia edge, and from there the spacing has to be held tight to the spec, measured front-of-batten to front-of-next-batten up the slope. If the spacing drifts, panels won’t lay flat and the water channels won’t align. A batten spacer tool makes this easier to get right; any experienced DECRA installer should have one.
Flashings.
Valleys, rakes, hips, ridges, wall penetrations, chimneys, skylights, all of it gets flashed with aluminum, galvanized steel, or aluminum-zinc alloy coated steel. No copper. No lead. This is one of the more important rules in the DECRA system, and we’ll cover it in more detail below.
Panel installation.
Panels go on right to left for most DECRA batten-system profiles. The XD profiles go left to right. Staggering is important, panels should never line up in vertical columns (called “racking” in the trade), because that creates a visible and structurally weaker pattern. Each panel overlaps the one next to it at the side lap, and the overlap channel must be fully covered by the adjacent panel.
Fasteners.
Corrosion-resistant screws throughout, minimum #8 or #9 hex head, typically 1½" long. In freeze-thaw zones, screws are preferred over nails because they hold through thermal cycling. Color-coordinated screw heads are used anywhere a fastener is exposed on the panel nose. Where fasteners go through battens, they need to actually hit the batten, not just the air gap.
Why can’t copper or lead be used with DECRA?
Galvanic corrosion. When two dissimilar metals are in contact, or even close contact in the presence of water. The less noble metal corrodes faster than it would on its own. Steel and copper are far enough apart on the galvanic scale that contact between them accelerates corrosion significantly.
For homeowners, this means a few things:
- No copper step flashing, valley metal, or pipe boots on a DECRA roof.
- No pressure-treated lumber in direct contact with panels or battens. Older PT lumber formulations contained copper-based preservatives that can react with the steel panels.
- If your home has existing copper flashing from a previous roof, that needs to be replaced before DECRA goes on.
This comes up more than you’d expect, especially on custom homes and mountain properties that have used copper for its longevity and aesthetics. A contractor who knows DECRA will catch this in the pre-job assessment. If they don’t mention it and your home has copper details, ask directly. We find existing copper flashings on mountain custom homes fairly often, it’s a common detail on higher-end builds, and it’s always better to catch it during the estimate than mid-job.
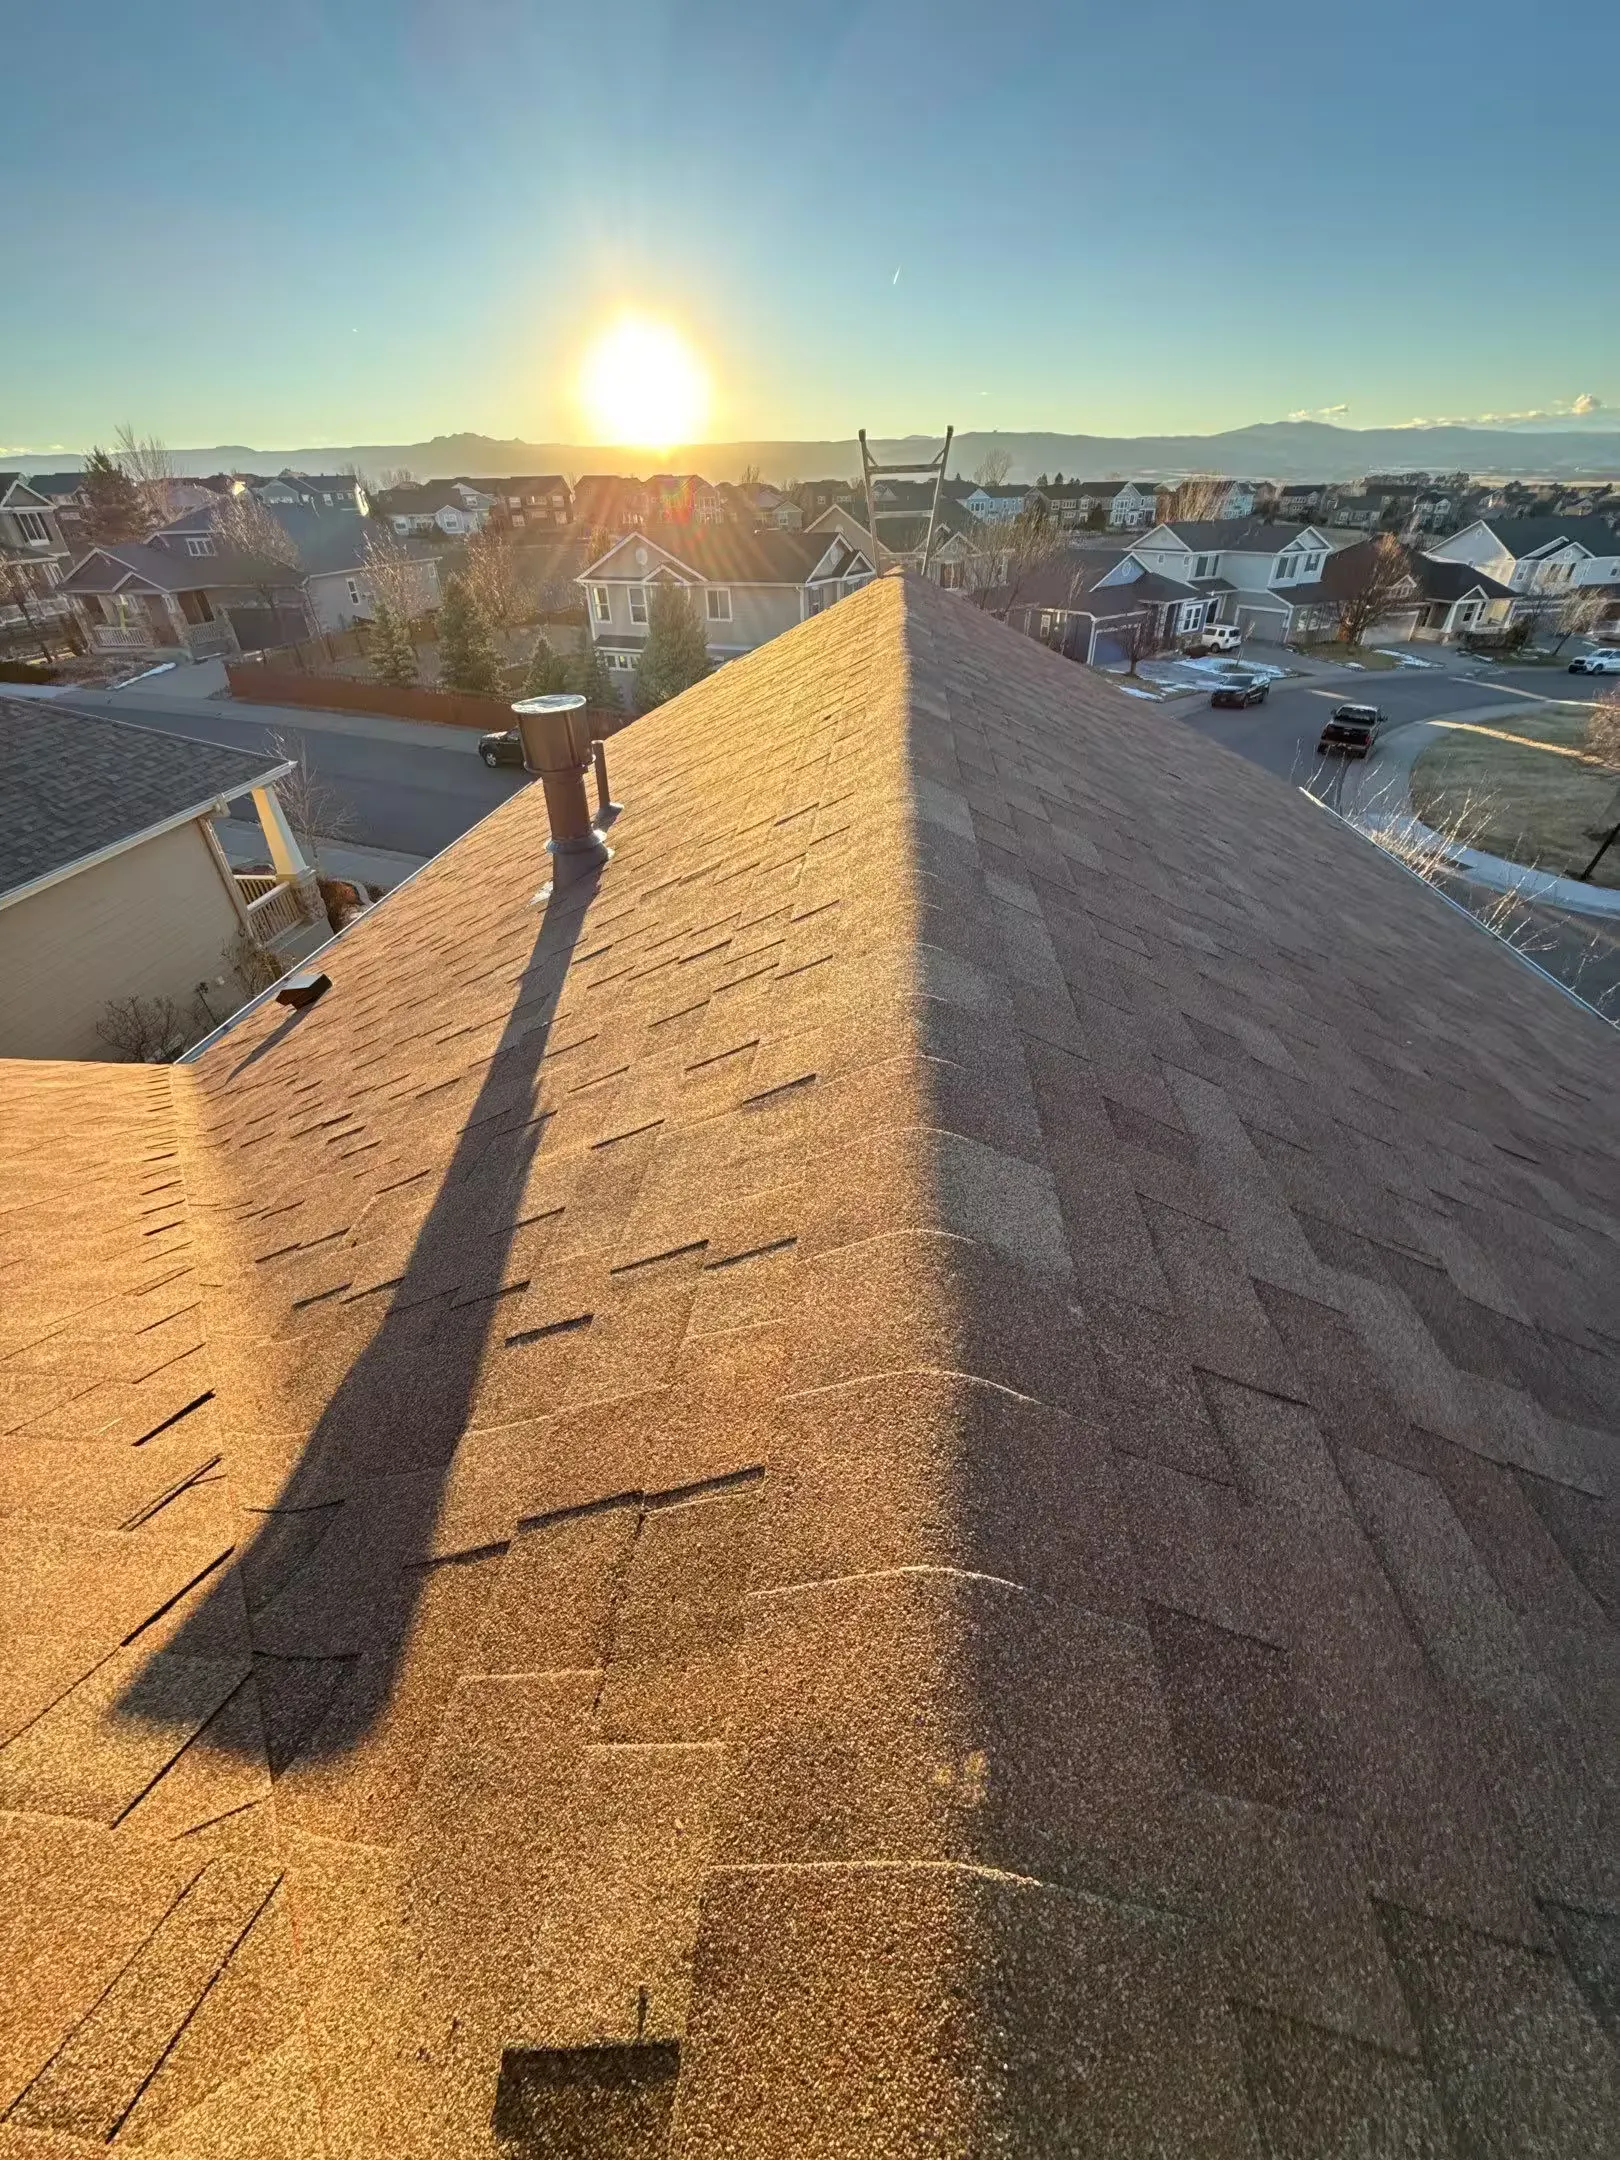
How does DECRA hold up in Colorado winters?
Stone-coated steel handles snow and ice well as a category. The panels don’t crack or become brittle in cold weather the way some composites can, and the steel core doesn’t absorb moisture. But there are installation details that matter a lot for Colorado specifically.
Ice and water shield at the eaves is non-negotiable in our climate. The standard is to run it from the eave up at least 24" inside the wall line, and more if your home has a history of ice dam problems. If that’s a concern, the Ice Dam Prevention page covers what causes them and how to address them. DECRA’s own installation spec calls for ice and water shield in freeze-thaw areas and leaves the exact requirement up to local code, which in Colorado typically means it’s required.
The screw-over-nail requirement in freeze-thaw zones is worth noting too. As a roof surface heats and cools, expands and contracts, fasteners that aren’t fully threaded into solid material can work loose over time. DECRA explicitly calls for screws in these conditions. If a contractor is proposing to fasten the panels with nails because it’s faster, that’s worth questioning.
Snow load is less of a concern with DECRA than it is with heavy tile or concrete products. At 150 lbs per square, DECRA is close to architectural asphalt in weight, which means most roofs designed for asphalt can handle the transition without structural modifications. On mountain homes with DECRA and a heat cable system, the steel substrate disperses heat along the panel surface more effectively than asphalt or polymer, the warm zone along eaves and valleys is wider with the same cable load, which makes the whole system more effective. If you’re pricing a heat cable system, the Heat Cable Price Guide gives you a cost baseline before you call anyone. On steeper mountain pitches, we quote snow retention as a separate line item rather than folding it into the base scope, so you can see the actual cost and make the call yourself.
Can you walk on a DECRA roof?
Yes, but with care. Foot traffic on stone-coated steel requires knowing where to step.
On batten-system installations, walk directly over the battens, not on the side laps between panels, where the panel is unsupported and can deflect. On the Tile profile specifically, foot traffic should stay on the tile pans (the low points), not on the high points of the panel. The Villa Tile has the same guidance.
XD panels are installed direct-to-deck, so the whole panel surface is supported, but side laps are still the wrong place to step.
For homeowners: if you need someone on your roof after installation, a chimney sweep, a satellite technician, an HVAC contractor. Remind them of this. Anyone who doesn’t know stone-coated steel will default to walking wherever is convenient, and side lap damage is subtle enough that you won’t see it from the ground.
What does repair look like if a DECRA panel gets damaged?
Individual panels can be replaced. That’s one of the practical advantages of a panel system over a continuous membrane, you don’t have to tear off a section to fix a localized problem.
DECRA sells color-matched touch-up kits for surface damage, scuffs, dings, or spots where the stone coating gets knocked loose. The process is straightforward: apply roofing grade sealant to the area, press matching stone granules into the sealant, done. It’s not invisible up close, but it seals the surface and blends at normal viewing distance.
For a panel that’s more seriously damaged, bent, cracked at the steel layer, or separated from its fastening. Full panel replacement is the right call. On batten-system profiles, that means removing adjacent panels, replacing the damaged one, and refastening. On XD profiles, the clip-lock system means you’re unclipping and reclipping panels in sequence. Either way, a contractor who knows the product can handle it without taking half the roof apart.
Color matching for replacement panels is worth asking about if your original installation is more than a few years old. DECRA’s color lineup can change, and stone granule colors vary slightly from batch to batch. This rarely matters for small repairs, but it’s worth keeping a few spare panels from the original install if your contractor can arrange it.
What should I ask a contractor before hiring them for a DECRA installation?
Most of the questions that reveal whether someone actually knows this system come from the installation details above. A few that tend to separate experienced installers from people who’ve just read the brochure:
- How do you handle batten spacing on an irregular deck? (They should mention counter-battens and why they’re used.)
- What’s your approach to flashing materials on a DECRA roof? (The right answer starts with “no copper, no lead.”)
- What underlayment are you using, and are you running ice and water shield at the eaves? (In Colorado, the answer to the second part should always be yes.)
- Have you installed the XD clip-lock system before, or the batten system? (They’re different enough that experience on one doesn’t fully transfer to the other.)
- How are you handling fastening in high-wind conditions? (There are specific ICC ESR requirements for DECRA in high-wind zones, a contractor familiar with mountain builds will know this.)
You don’t need to grill anyone. But if a contractor blanks on the copper question or can’t explain why batten spacing matters, that tells you something. A roof is a long-term investment, and the installation quality matters more than the material choice. For a full list of questions to ask before you sign anything, 8 Questions to Ask Any Colorado Contractor gives you a vetted starting point.
If you want to understand how DECRA pricing compares to other premium roofing options before you start talking to contractors, the Roof Price Guide gives you a starting point, and the Instant Estimator can give you a preliminary range for your specific home before you talk to anyone.